

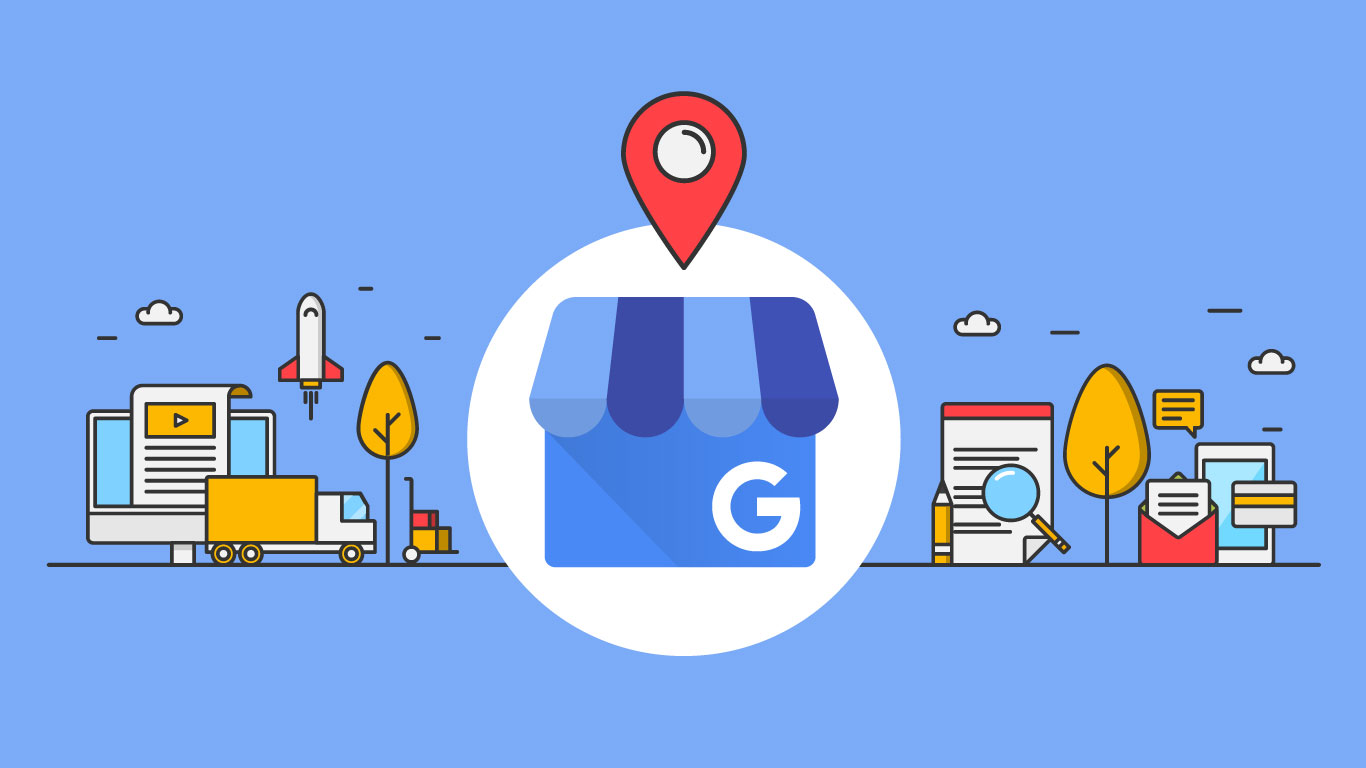
Knowing how to optimize your Google My Business listing is critical to showing up in local search results and attracting users and customers. Google My Business (GMB) is a free tool provided by Google that allows businesses to create and manage their online presence and provide details that help local customers find them.
Focusing on Google My Business optimization can boost your customers, users and revenue. According to Publer, 45% of companies receive requests through Google My Business, and 93% of consumers use the Google My Business map feature when searching for a local business.
Understanding how to get more customers from Google My Business by completing your profile with local SEO keywords, engaging with customers, and adding pictures of your practice to ensure you make the most of your GMB listing.
Tips for Optimizing Your Google My Business Listing
Optimizing your GMB page can help you boost online visibility, rank higher in SEO listings, and attract more customers. To optimize your listing, focus on the accuracy and completeness of your profile and the distance of your practice to those searching online. You can also use business listing optimization techniques, such as adding citations, reviews, and images to enhance your online presence.
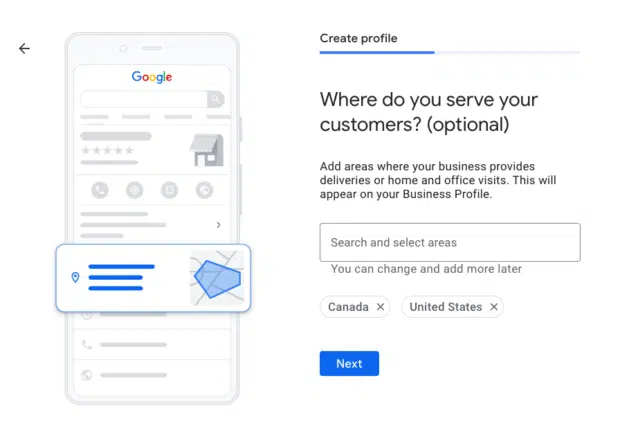
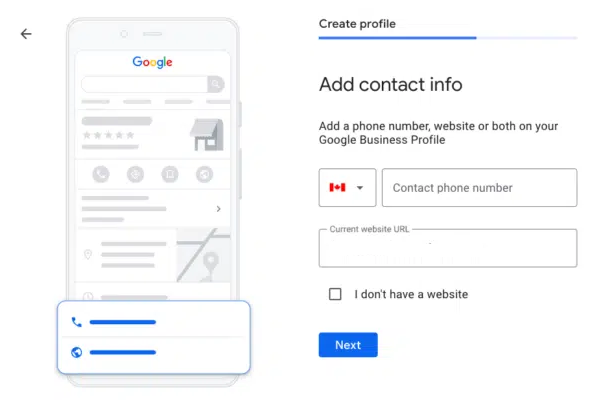
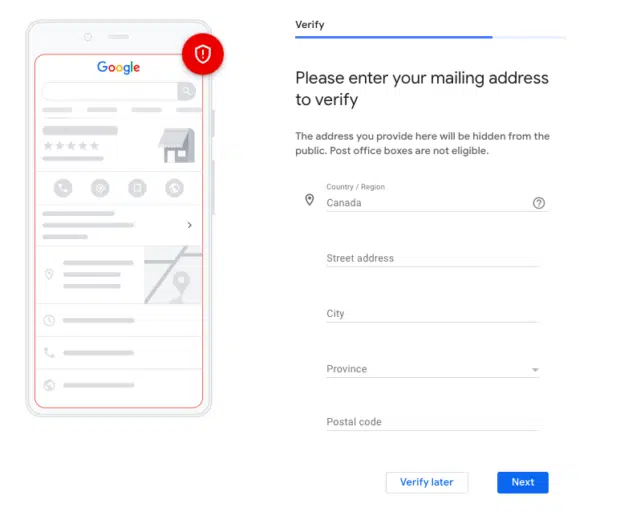
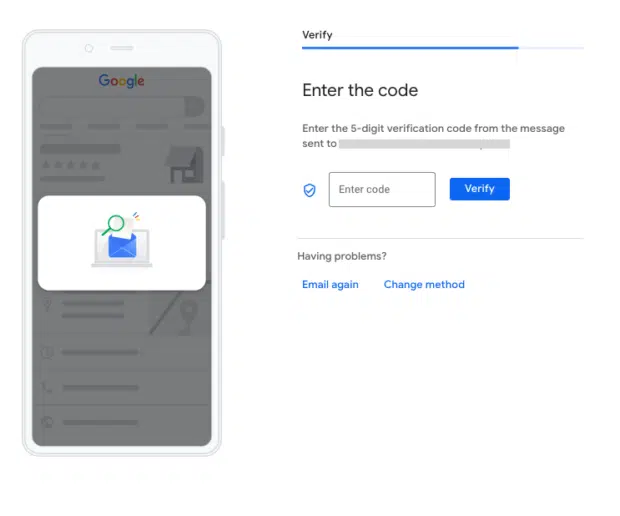
1. Claim and Verify Your Listing
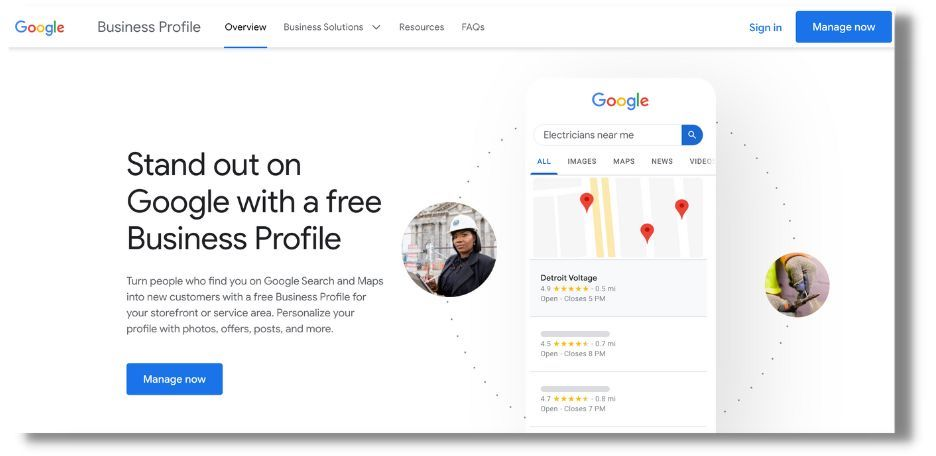
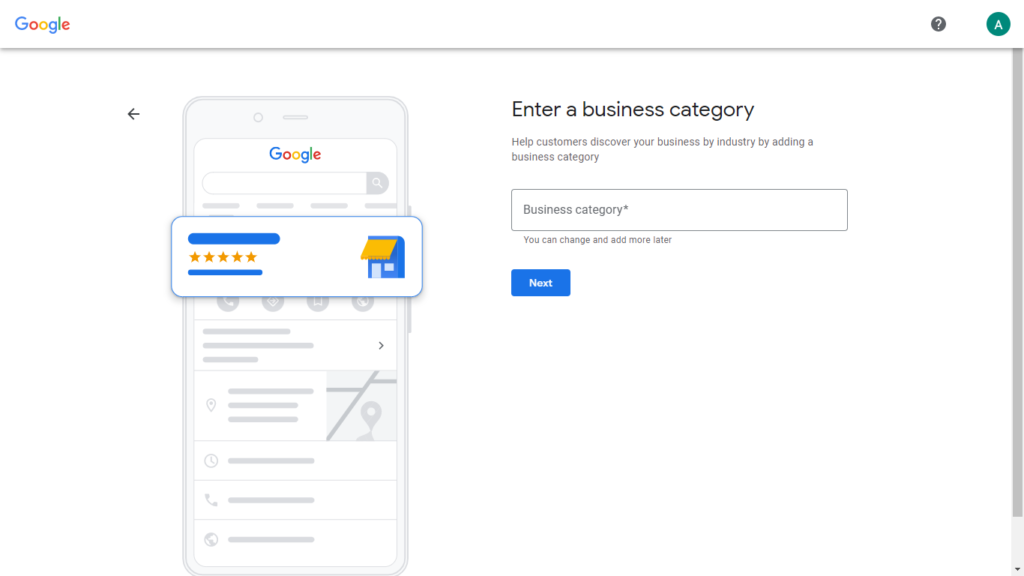
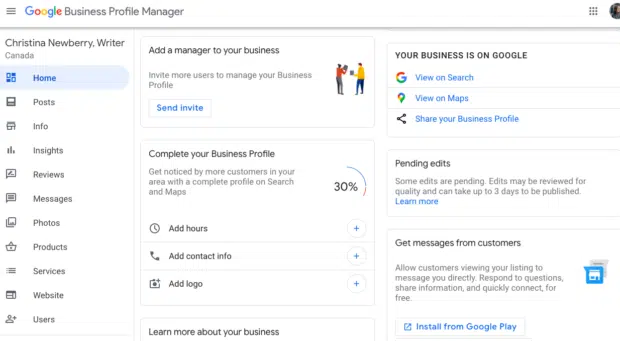
Your first step in optimizing your GMB is to claim and verify it. This will give you control over the information displayed and allow you to respond to Google reviews. Start by visiting the Google Business Profile site and clicking “Manage Now.”
Follow the instructions to claim your business listing. Once claimed, you’ll need to verify it by choosing the verification method that suits you best, such as receiving a phone call.
If you dont know how, our blog on A Comprehensive Step by Step Guide to Google Business Suite might help.
2. Craft an Engaging Business Description
Craft a concise and compelling business description using relevant keywords to improve your profile’s local search optimization. To implement this Google My Business tip, write a business description that mentions the specific services you offer. Emphasize your expertise, qualifications, and any unique approaches you use. For example, “At Savour Streets, we provide quality food with quality price.”
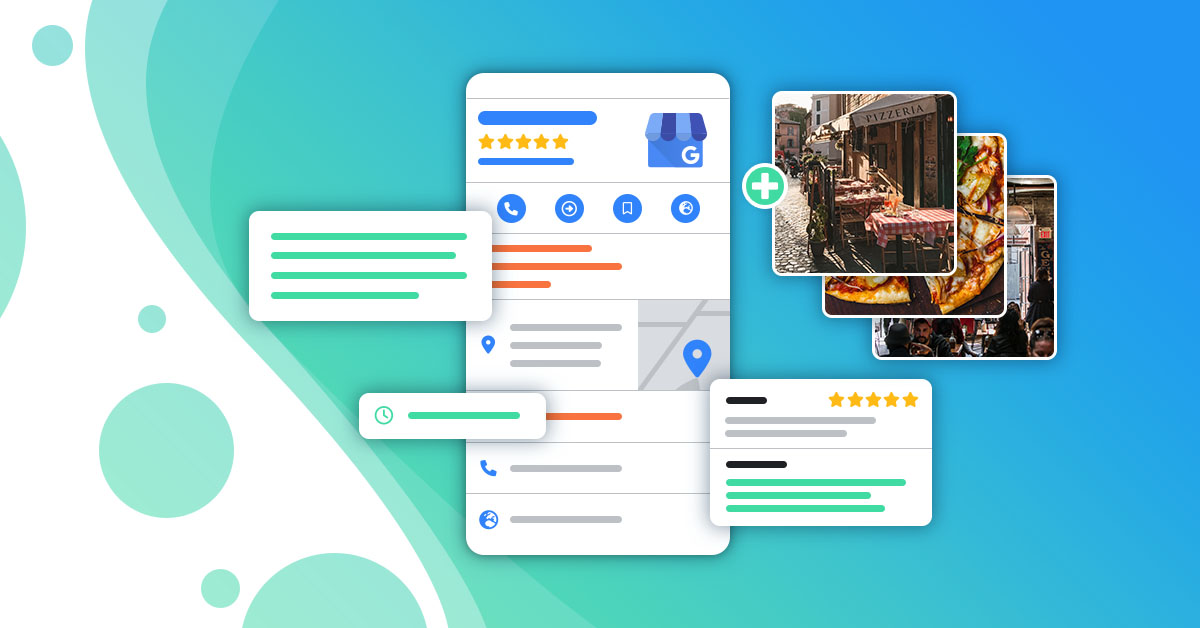
3. Showcase Your Practice With High-Quality Photos
If you want to know how to rank higher in local search, consider using images to boost your GMB page presence. According to the Publer article, an average GMB profile has 11 pictures; listings with photos can see 35 times more website visits than profiles without images.
Upload high-resolution photos of your business, business rooms, and team members. Include pictures depicting a welcoming and professional environment.
4. Encourage Positive Reviews
Request satisfied customers to leave reviews on your GMB page. 94% of customers use online reviews as a first step in finding the right provider.
When consumers leave a review, respond to their post, expressing gratitude for positive feedback and addressing any concerns or issues mentioned. This engagement demonstrates your commitment to customer satisfaction.
5. Ensure Consistent NAP Data
Make sure your name, address, and phone number (NAP data) are consistent across your GMB page, website, and other online directories. Check that the information matches your business signage and contact details exactly. This consistency helps Google and potential customers recognize your business practices as reliable and trustworthy.
6. Select Relevant Categories
An often overlooked tip for how to improve your Google My Business listing is choosing the most relevant categories on your GMB page. Taking the time to select categories that are most fitting for your services helps niche your practice and allows customers to find a provider specializing in a certain area.
When creating your GMB page, select the most relevant categories for your business. Choose the proper category for the primary category for eg, “IT Services” and consider adding additional categories like “Network Solutions Provider,” “Cybersecurity Specialist,” or “Cloud Computing Services” to refine your classification and attract specific consumer segments.
7. Engage in Regular Posting
Regularly post updates, special offers, and educational content on your blog and social media channels to keep your audience engaged. Use eye-catching graphics, infographics, or screenshots to make your posts visually appealing and attract more engagement. Craft compelling headlines that pique the interest of your audience and encourage them to click and read more. Don’t forget to include clear calls to action in your posts, directing users to take the desired action, such as signing up for a newsletter, downloading a free ebook, or scheduling a consultation. These calls to action can help you convert your engaged audience into potential leads and clients.
8. Use Keywords in the Q&A Section
Answer frequently asked questions on your GMB page and incorporate relevant keywords in your responses. Address queries about specific conditions, treatments, or techniques.
9. Monitor Insights and Analytics
Regularly review the Insights and Analytics section of your GMB dashboard to gain valuable insights into user interactions. Track metrics such as the number of views, searches, and actions taken, like phone calls and website visits. Analyze this data to identify trends, understand your target audience, and tailor your marketing strategies.
10. Backlinks and Inbound links
Backlinks and inbound links are crucial for Google My Business (GMB) optimization, boosting local rankings, authority, and credibility. Reputable websites linking to your GMB page signal trustworthiness to search engines, leading to better visibility in local searches and Google Maps results. Quality backlinks also enhance click-through rates and conversions by building customer trust. However, it’s essential to prioritize relevance and avoid spammy links to avoid penalties. A strong backlink profile drives sustained SEO benefits, making them a key factor in long-term GMB success and increased organic traffic.
11. Use GMB Messaging
Activate the messaging feature on your GMB page, allowing potential customers to contact you directly. Respond promptly and professionally to inquiries, providing helpful information and scheduling appointments when appropriate. Consider setting up automated responses to frequently asked questions to provide immediate assistance.
Conclusion
In conclusion, optimizing your Google My Business listing is essential for local businesses to thrive in 2023. By claiming and verifying your listing, crafting engaging descriptions, showcasing your practice with photos, and encouraging positive reviews, you can boost online visibility and attract more customers. Consistent NAP data, relevant categories, and regular engagement through posts and keywords further enhance your GMB presence. By monitoring insights and using messaging features, you can effectively connect with potential clients and drive business growth through this powerful tool. Start optimizing your GMB today and reap the benefits of increased visibility and customer engagement.


 is a free tool provided by Google that allows businesses to create and manage their online presence and provide details that help local customers find them. Focusing on […])